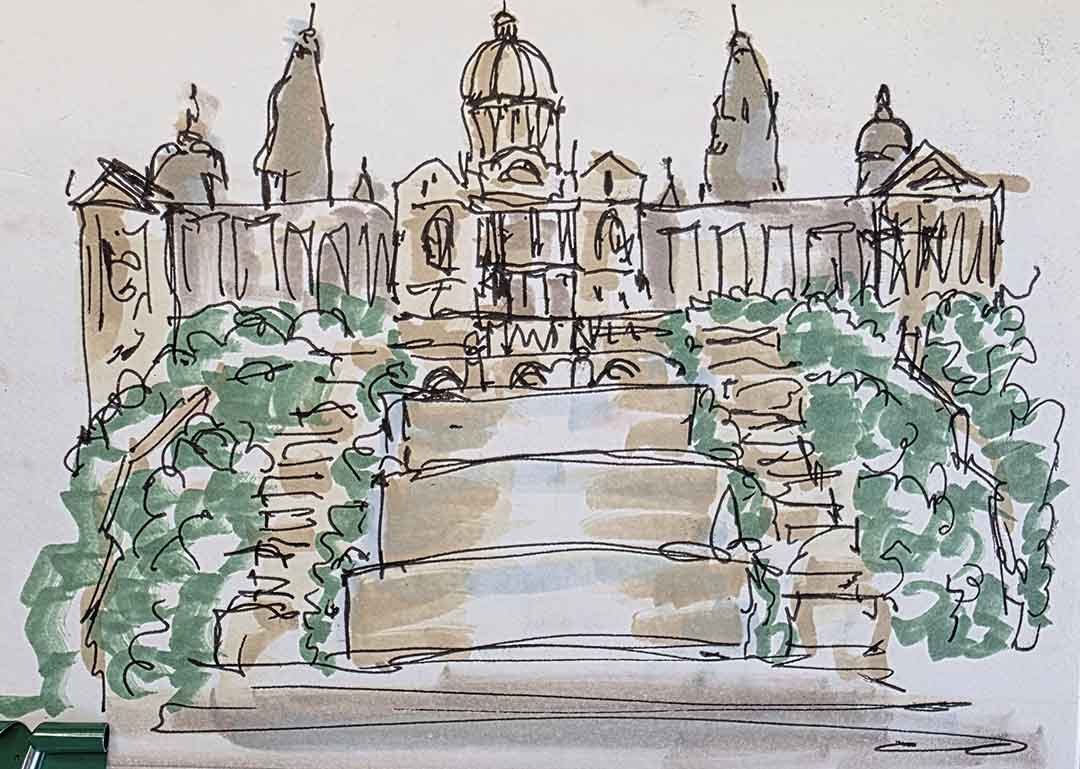
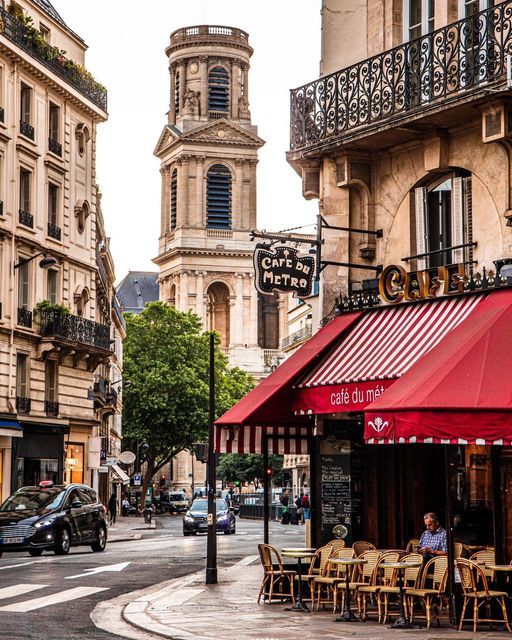
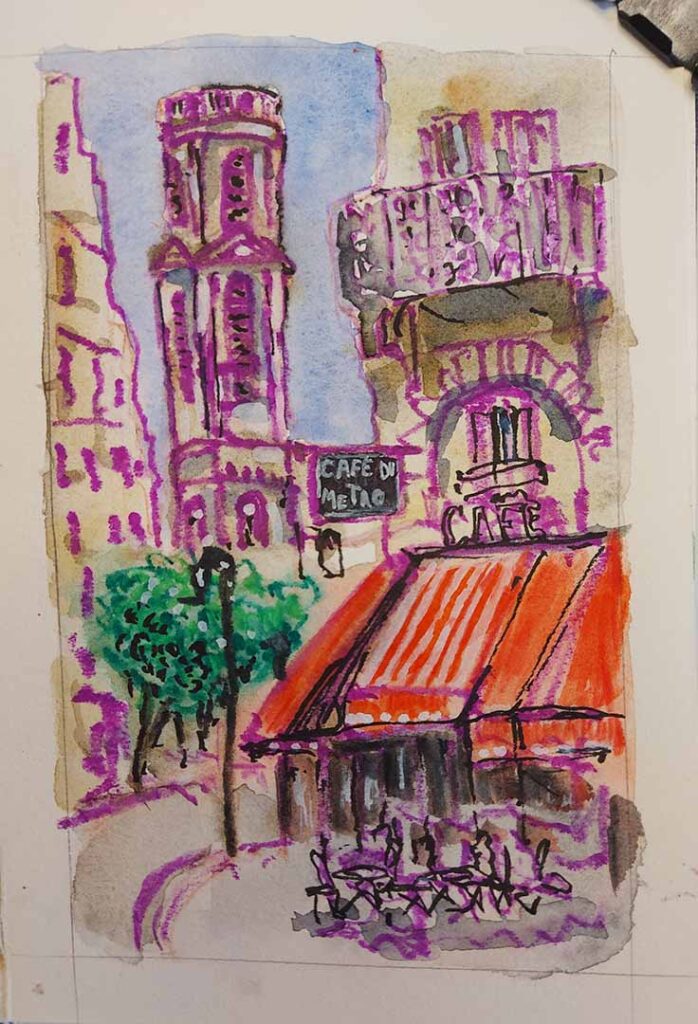
Urban sketching is a wonderful way to capture the spirit of a city. With tools in this tutorial — watercolor, watercolor pencils, a black brush pen, a white Posca marker, a white pen, and A5 watercolor sketchbook — you can turn a quick observation into a lively sketch. Here, I’ll walk you through my process of sketching Café du Métro in Paris in five simple steps.
Lately I gave my old markers a new life. All about it you can find in recent post.
Step 1: Frame and Sketch
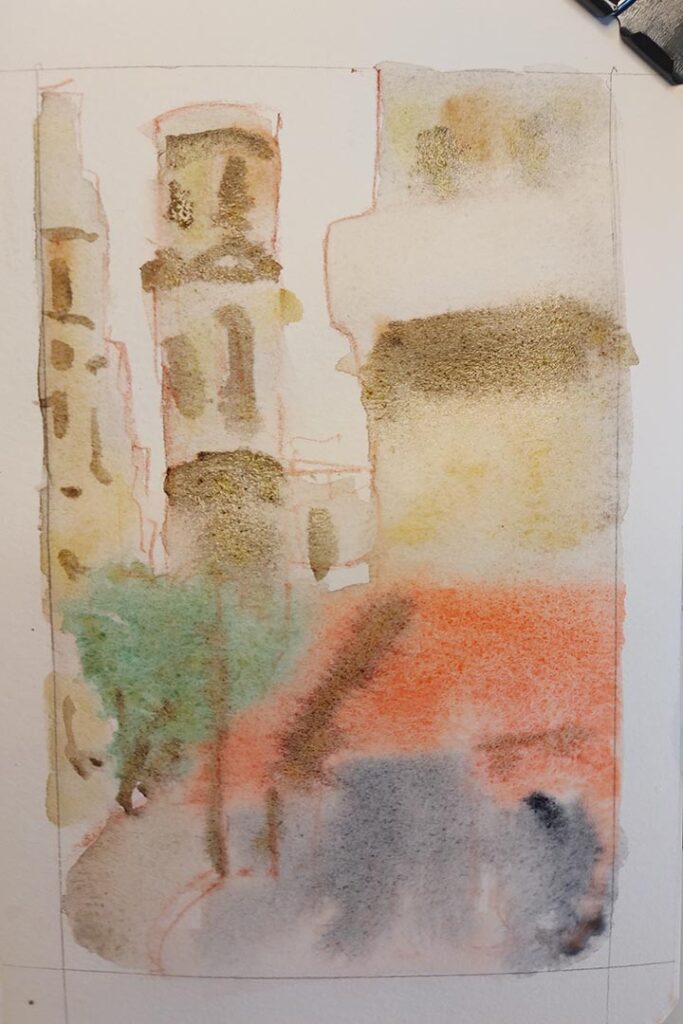
The first step is to lightly frame your page and make a quick sketch with a pencil. This helps you focus on composition and ensures you don’t lose important elements. Keep the lines loose and simple — you’re setting the stage for color and detail later. At this point, think about perspective, proportions, and how the main objects (like the café awning and tower) sit together.

Step 2: Apply Basic Colors
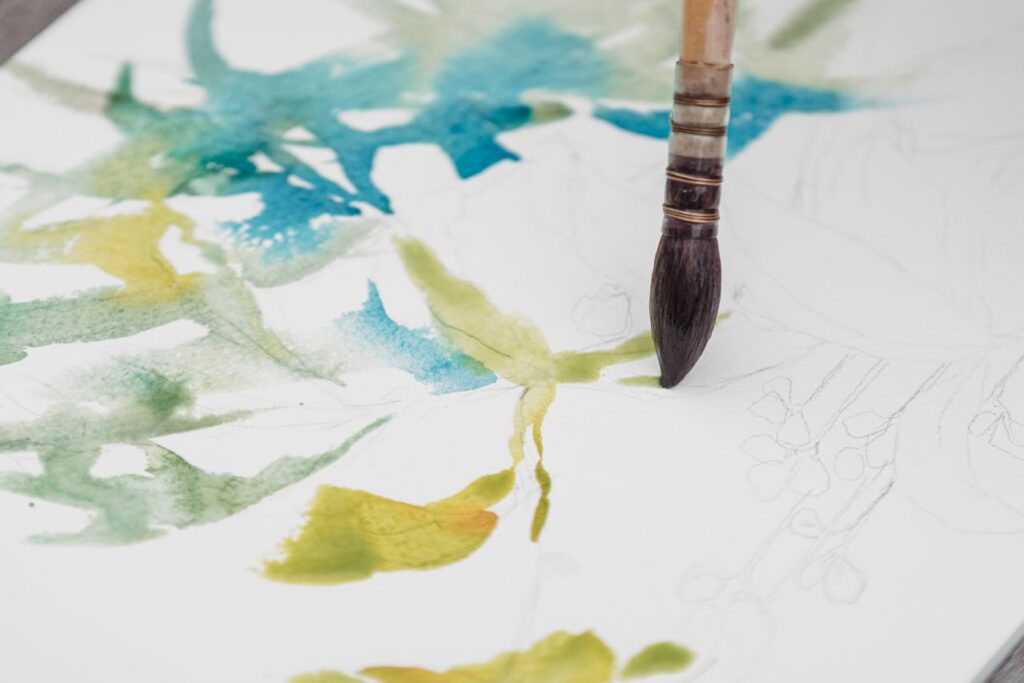
Next, wet the paper and drop in your first washes of color. Start with broad shapes like the buildings, sky, and street, then mark where the darkest areas will be. This helps establish the atmosphere right away. Don’t worry about precision — watercolor works best when it flows naturally, and these washes will serve as the background for later layers.
Step 3: Add Line with Watercolor Pencils
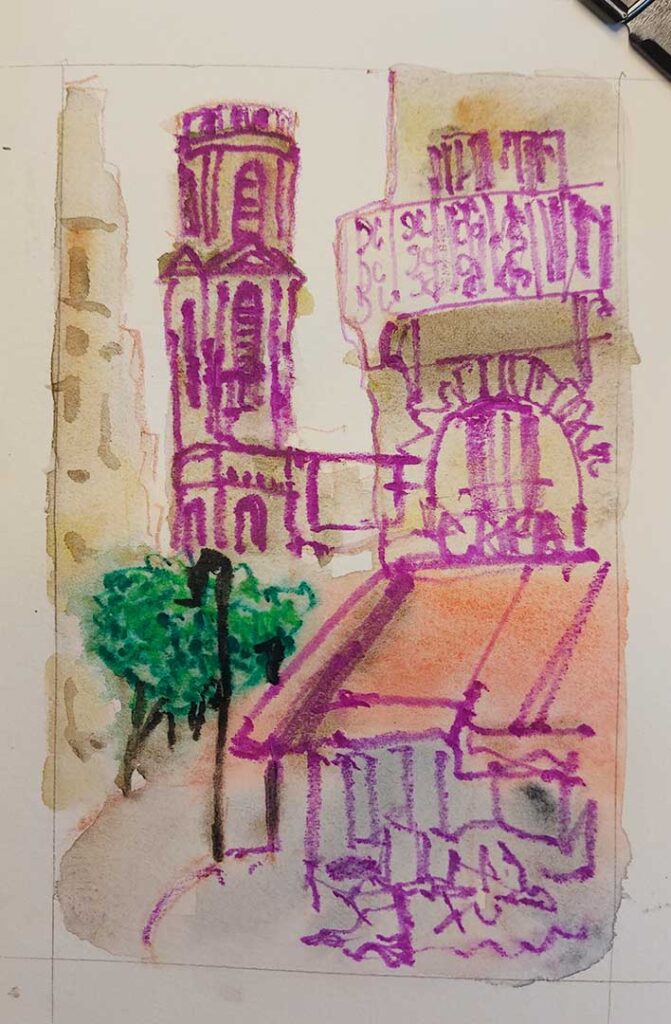
Once the washes are in place, I start sketching over them with watercolor pencils. On damp paper, they create bold, vibrant lines that add structure and texture. I used them to emphasize the tower, balcony, and café awning. Looking back, I’d keep lighter touches for distant objects so they don’t come forward too much — but that’s part of the fun of experimenting.
Step 4: Add Shadows
Now it’s time to bring depth to the scene. I painted shadows under the balcony, on the awning, and along the street edges. Shadows add contrast, define the shapes, and make the red awning stand out even more. At this stage, layering more pigment helps separate foreground and background, guiding the eye naturally to the café.

Step 5: Add Final Details
In the last step, I sharpened and emphasized key lines with a black brush pen. Then I added highlights with a white Posca marker and a white pen to bring out reflections and brightness. A few extra touches of red pencil in the awning made the color more vivid and eye-catching. These final details bring energy and life to the sketch, completing the urban scene.
Urban sketching doesn’t have to be complicated — it’s all about capturing the feeling of a place. By layering washes, lines, shadows, and details, you can create a vibrant memory on paper. Next time you sit at a café or stroll through a city street, try this five-step process and see how your sketchbook fills with the atmosphere of the moment.