There’s something special about working in a sketchbook you’ve made yourself. Not only does it reflect your personal style, but it’s also tailored to suit your creative needs. In this guide, I’ll show you how to craft your very own handmade sketchbook in five simple steps. Whether you’re new to bookbinding or just looking for a rewarding DIY project, this process is easier than you might think. Let’s get started!
Btw, in my recent post I collected some beautiful hotel to sketch. You can read about them here.
Gather Your Materials and Prepare the Paper
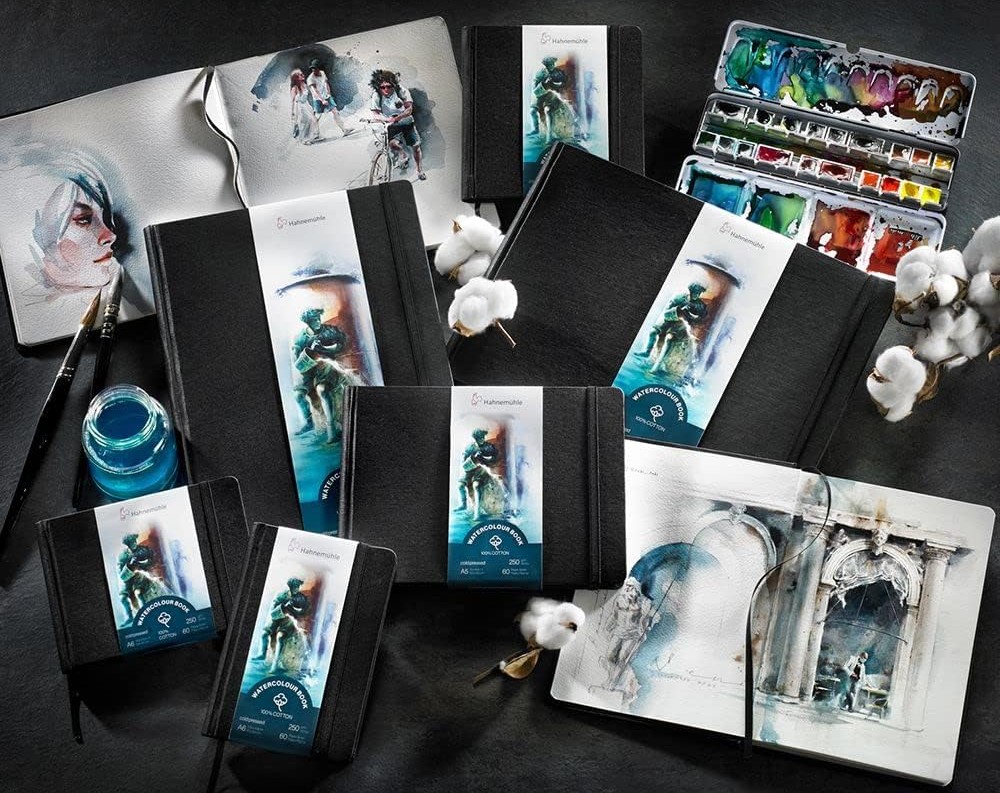
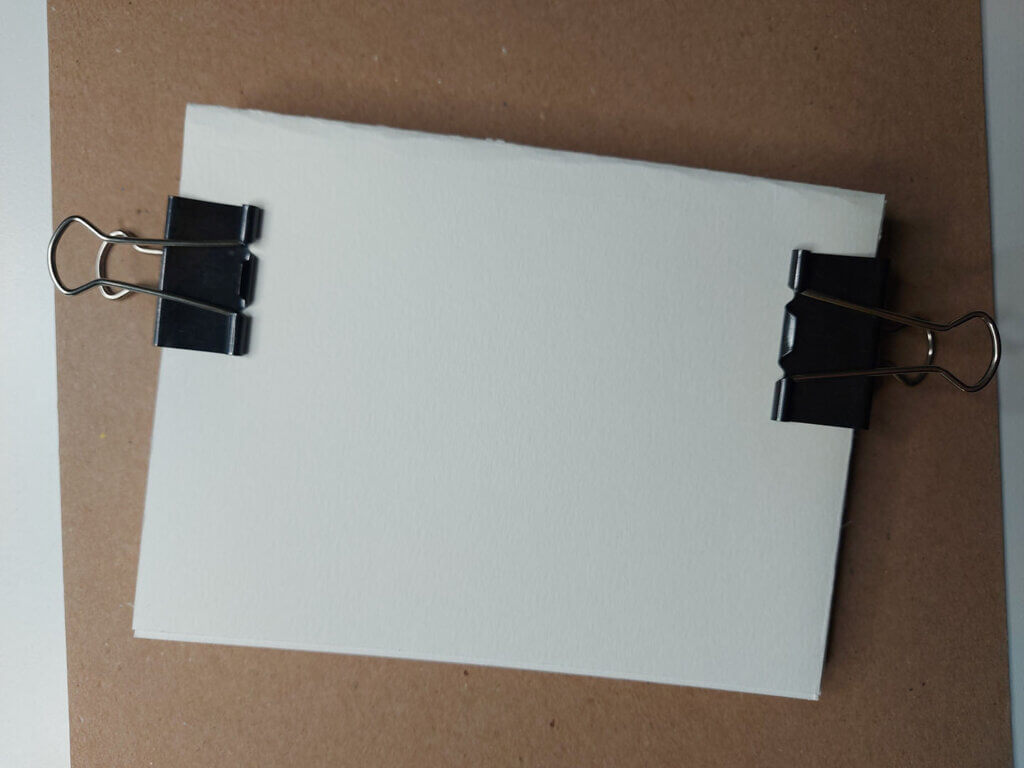
Start by choosing paper. I had a lot of watercolor paper 300gsm by Canson, so I chose it. Cut your sheets to the size you want for your sketchbook—A5 is a popular choice, but you can go larger or smaller depending on your needs. Stack the sheets neatly, making sure the edges are aligned. You’ll also need a bone folder to create crisp folds, heavy clips, a ruler, pencil, and an awl for punching holes. For the cover, select a thicker material like bookboard or sturdy cardboard, and decorate it with fabric, paper, or leather.
Fold and Arrange the Paper into Signatures
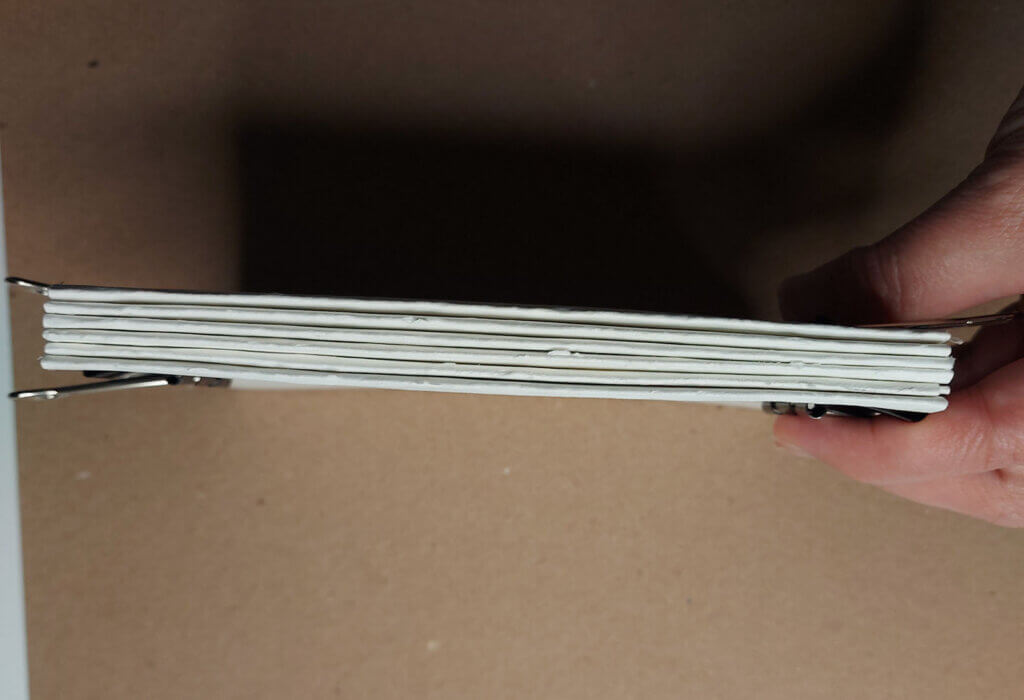
Since watercolor paper is thick, avoid folding too many sheets together to prevent unnecessary bulk. Fold each sheet individually using the bone folder or a ruler to create a clean crease. Group 2 to 3 folded sheets into small booklets called signatures. Typically, a sketchbook might have 4 to 6 signatures, but you can adjust based on how thick you want the finished book. Arrange them in order and keep them pressed under a heavy object for a few hours to help them stay flat.
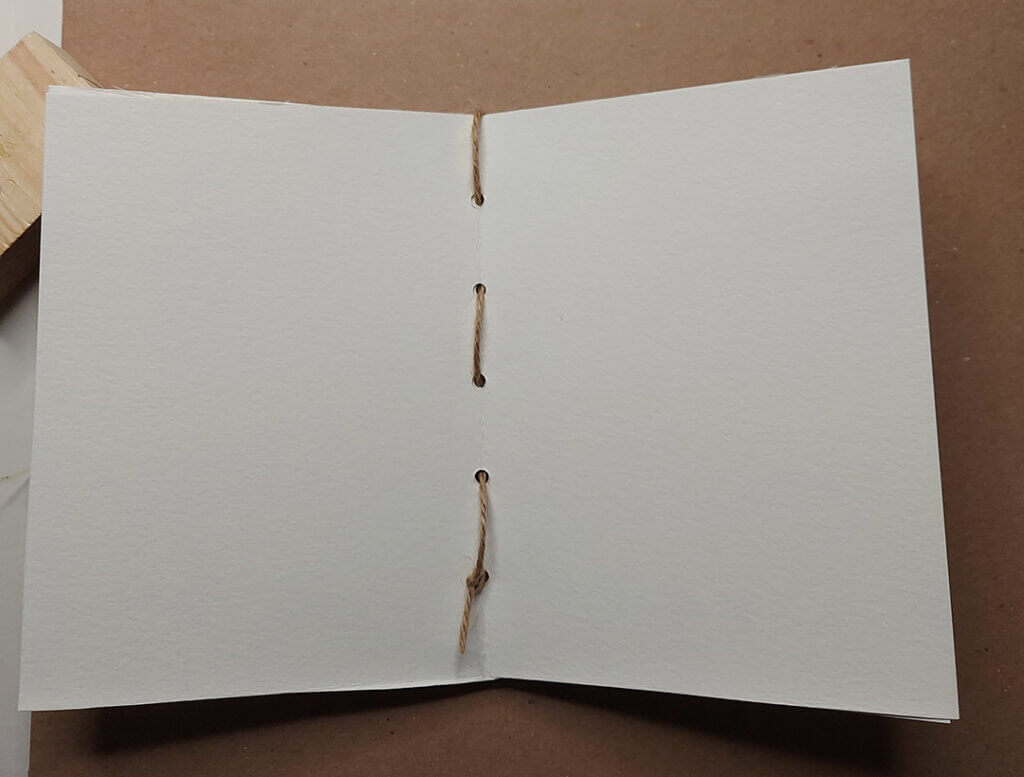
Punch Holes and Sew the Signatures Together
Using a ruler and pencil, mark evenly spaced points along the spine of each signature where you’ll sew them together. These will usually be about 1-2 cm apart, depending on the size of your book. Use an awl to punch holes through the marks. Once you’ve prepared all the signatures, sew them together using a simple pamphlet stitch or a more decorative Coptic stitch. A strong waxed thread or embroidery floss works well to bind the signatures firmly.
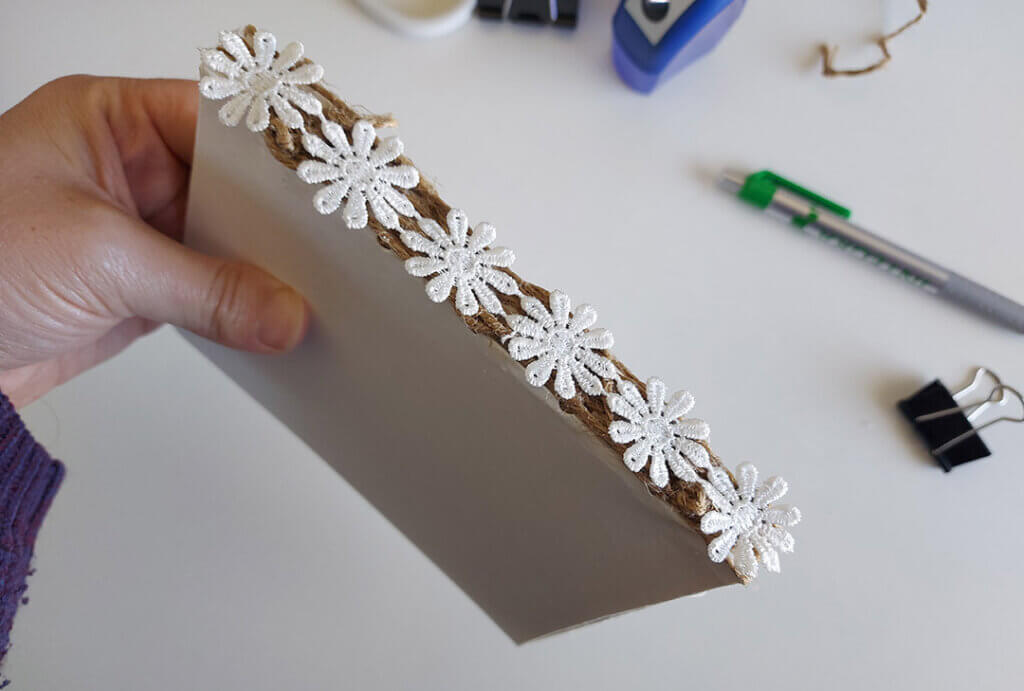
Create and Attach the Cover
Cut your cover boards slightly larger than the size of your pages—about 5 mm extra on each side. Decorate the covers with your chosen material: you can glue on fabric, decorative paper, or even paint directly on them. Once the covers are ready, attach them to your stitched signatures. For a Coptic stitch, the covers are sewn on during the binding process. If you prefer a traditional case-bound book, you can glue the spine and attach endpapers to connect the text block to the covers.
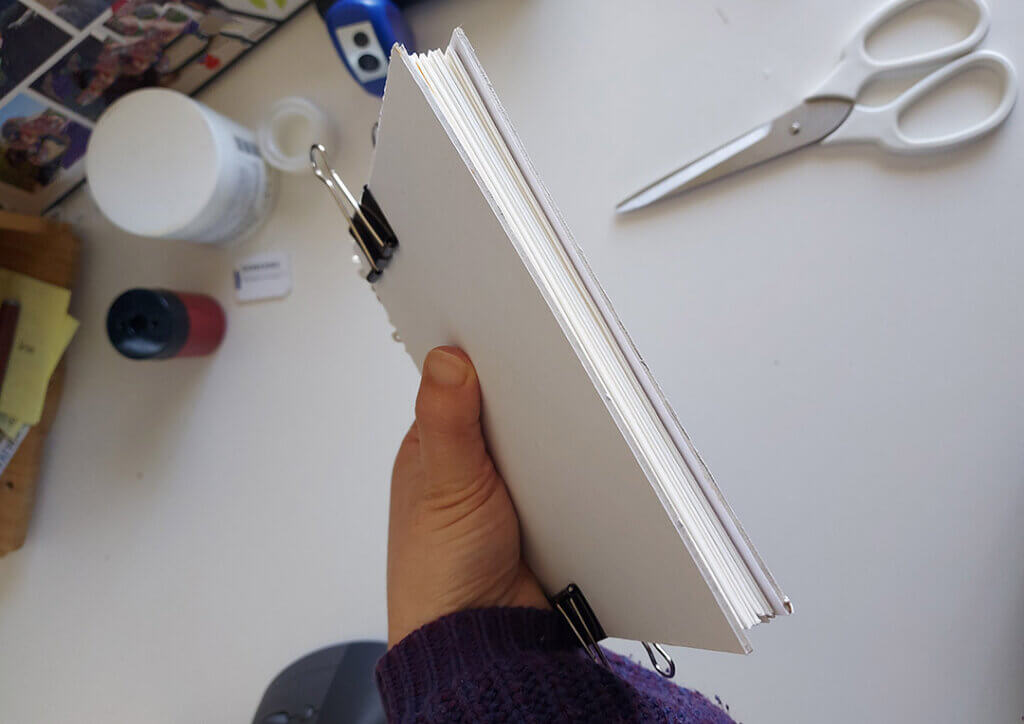
Finish and Press Your Sketchbook
Once everything is assembled, check that the pages turn smoothly and the covers are securely attached. Press the finished sketchbook under heavy books or a book press for 24 hours to flatten it and make the binding even stronger. After pressing, you’ll have a durable, customized sketchbook ready for your art. Whether you use it for sketching, painting, or mixed media, your handmade book will be a unique and inspiring tool for your creativity.
Making your own watercolor sketchbook isn’t just a fun project—it’s an opportunity to create something that’s perfectly suited to your artistic workflow. You can choose the size, paper, and design details that inspire you every time you open it. Plus, handmade sketchbooks often have a special energy that makes your creative practice feel even more personal. So gather your materials, take your time with each step, and enjoy the process. The result will be a beautiful, functional piece that’s uniquely yours—and a perfect companion for your watercolor adventures.