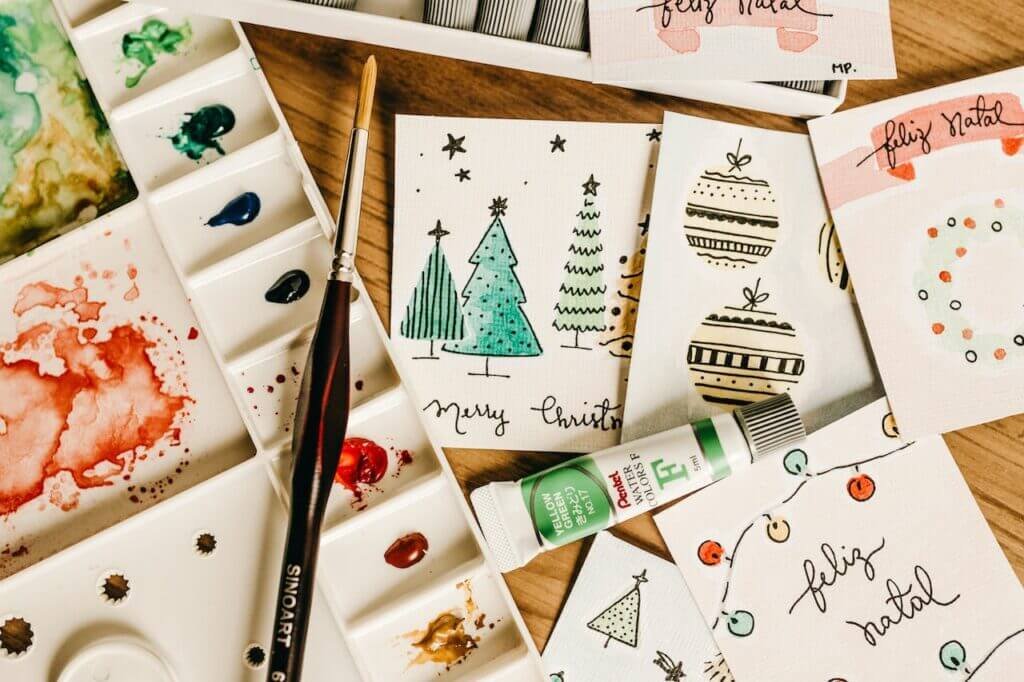
Hi guys! Christmas is coming and everybody is drawing and painting cards, capturing winter symbols like trees, toys and décor. So I decided to draw a card and share how I draw it in 6 steps. You can make a watercolor Christmas card with this tutorial for your family and friends or just enjoy and draw for fun. The materials I use for this drawing are watercolor, 2 brushes, pencil and eraser. My tutorial is universal, so if you want to draw with different materials, you are more than welcome.
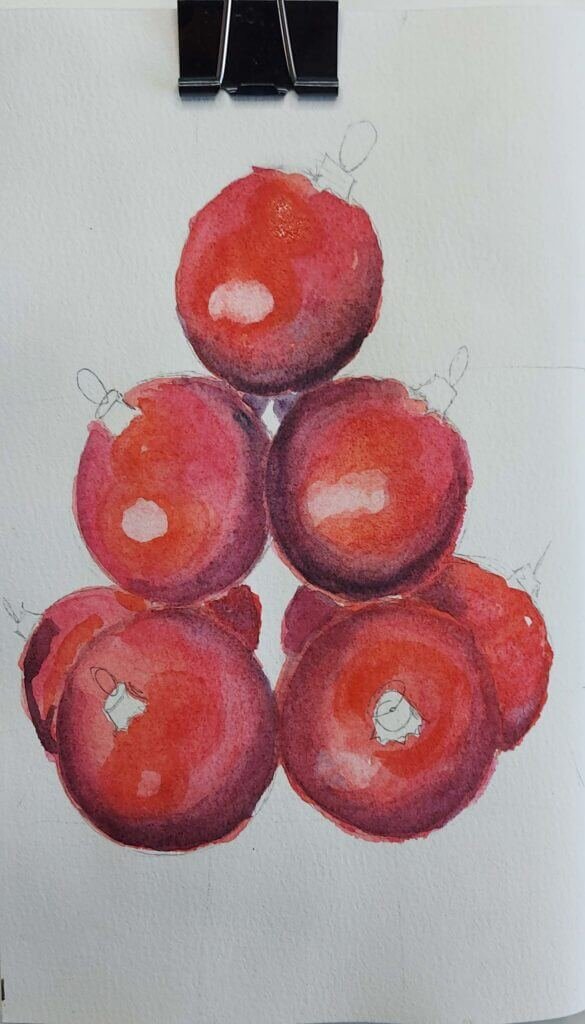
Step 1: Pencil Sketch
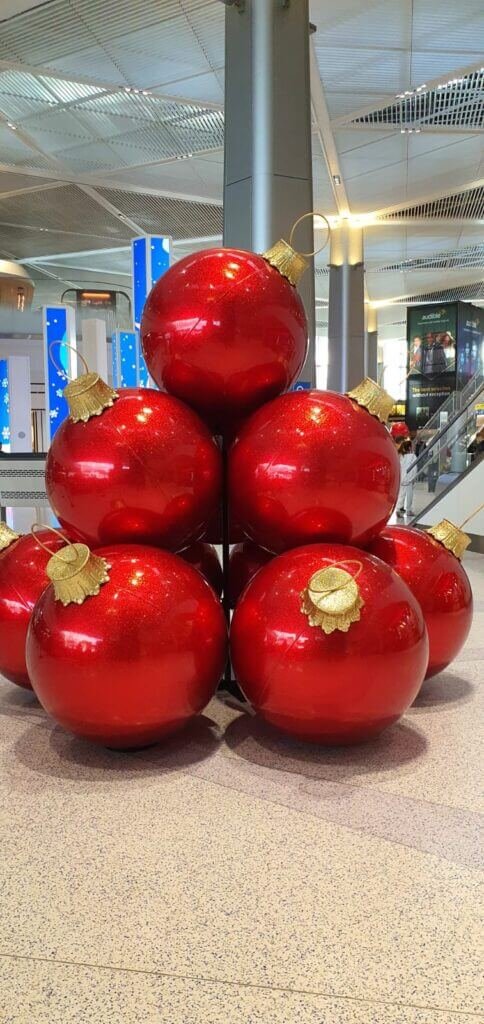
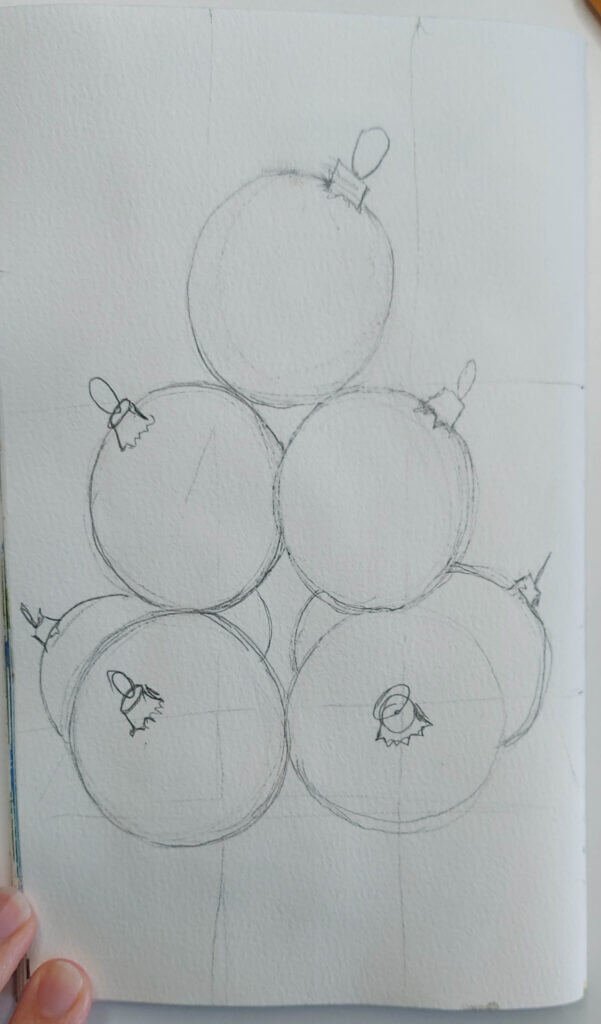
Let’s start with a pencil sketch. As you see in the reference, Christmas balls are designed in the triangle shape. Keep your sketch in the middle of the card or paper. Simplest way to make a construction of an image is to draw a triangle and then “put” the balls inside. If you have some round shape, you can circle the balls instead of drawing each one.
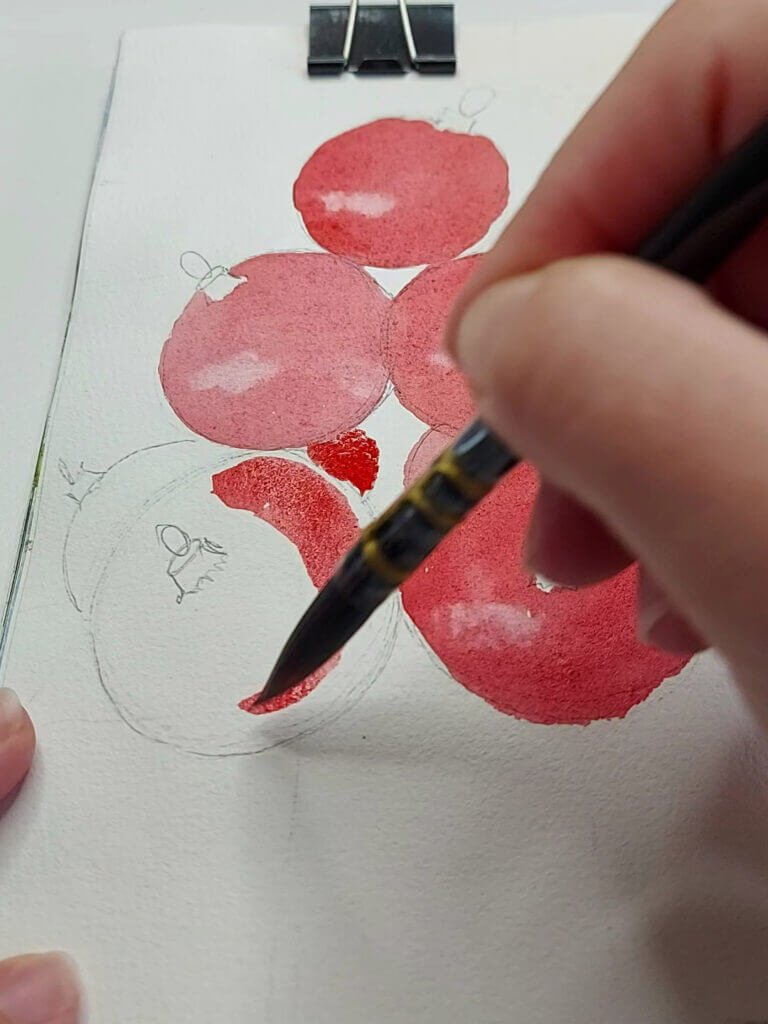
Step 2: Coloring the Balls
For the first layer I mixed 2 red colors: Cadmium red (warm red) and Carmin (cool red). When I finished with the first layer on each ball, I added Carmin (cool red) on the places where the balls have darker shades. Don’t forget to leave white paper in the places where the highlights and handles of the balls are. You can help yourself with masking fluid, but I’m too lazy for that.
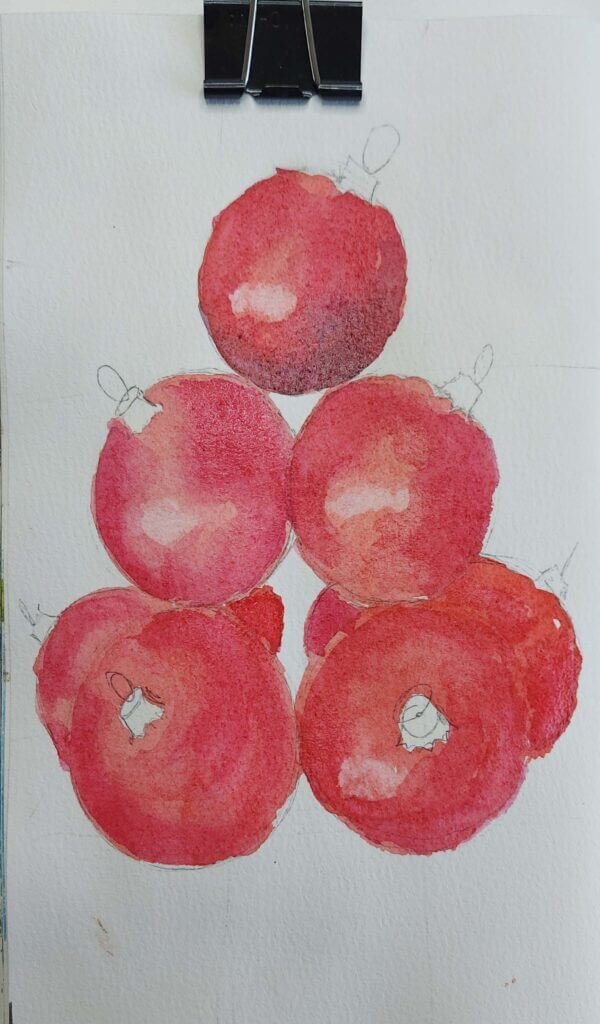
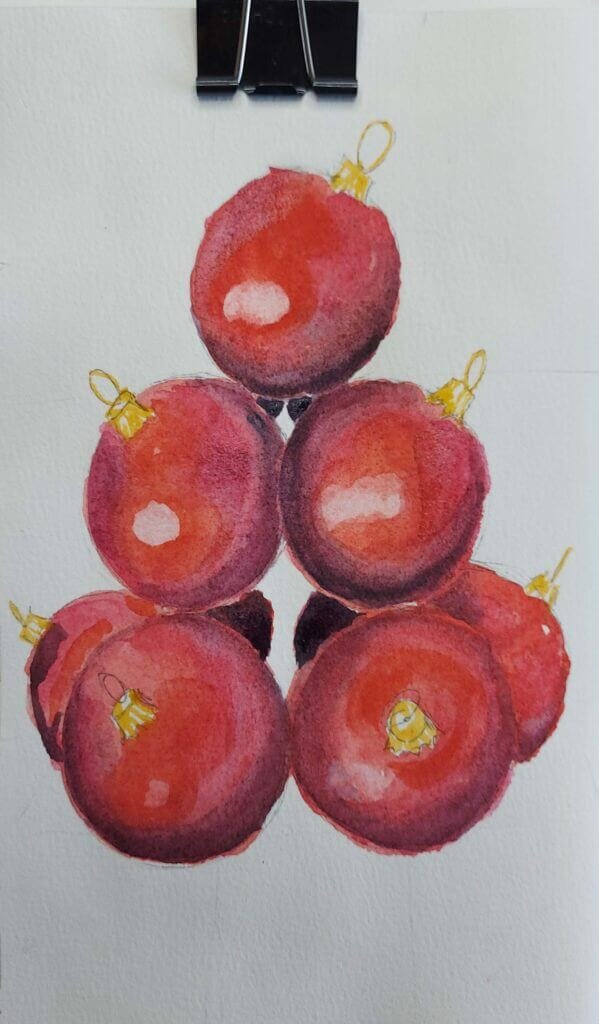
Step 3: Adding Shadows
For the shadows I mixed Carmin (cool red) and Emerald colors till I got a purple color. Adding the first layer of the shadows on the balls. When they dry a little, you should decide if the tone is dark enough for the shadow, if not, add another shadow layer.
Small tip: While painting use 2 brushes, first for coloring and the second, clean, for smoother gradient without harsh edges.
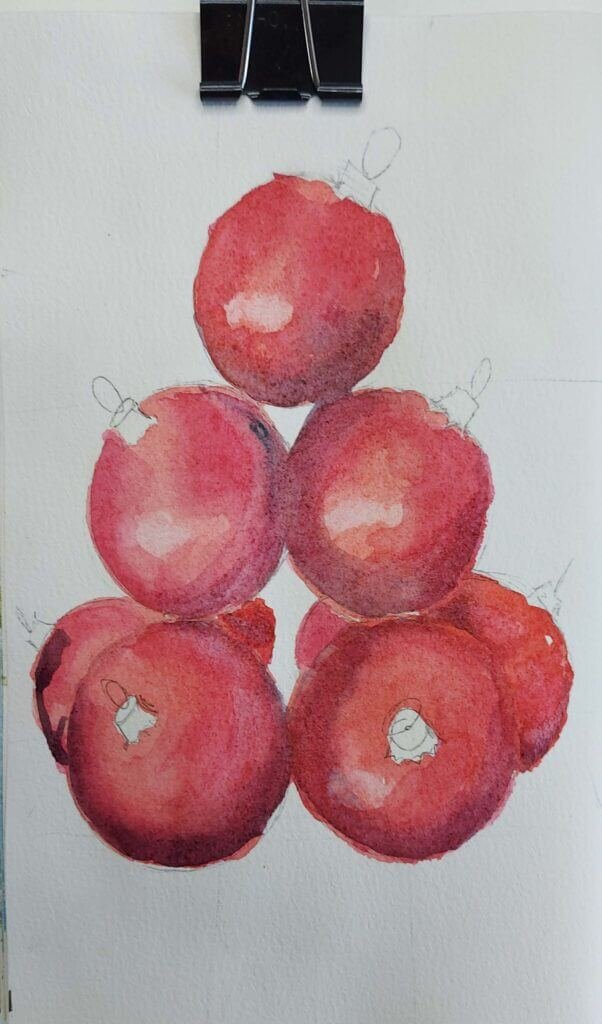
Step 4: Adding Red Color
After the red color on the balls dries I pay attention that the red tone kind of faded, so I add warm red color to the places around the highlights to make it look more vivid and bright. And by creating right contrast, shapes became less flat.
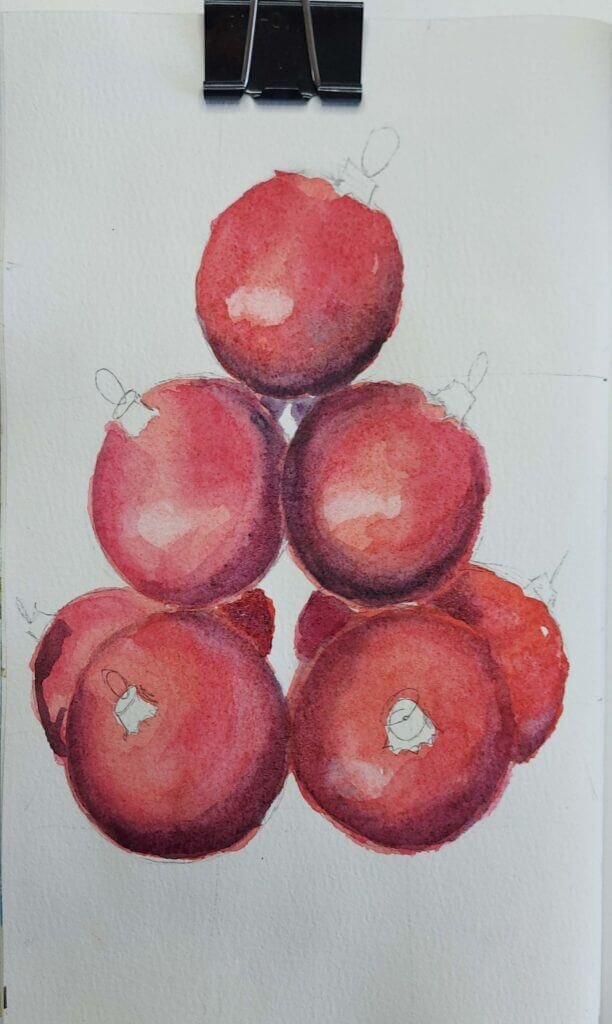
Step 5: Adding Dark Shadows and Balls Handles
Using the same watercolor mix as in step 3 for the dark shadows inside the balls “tree”. For ball handles I use warm yellow, leaving a bit white paper for highlights.
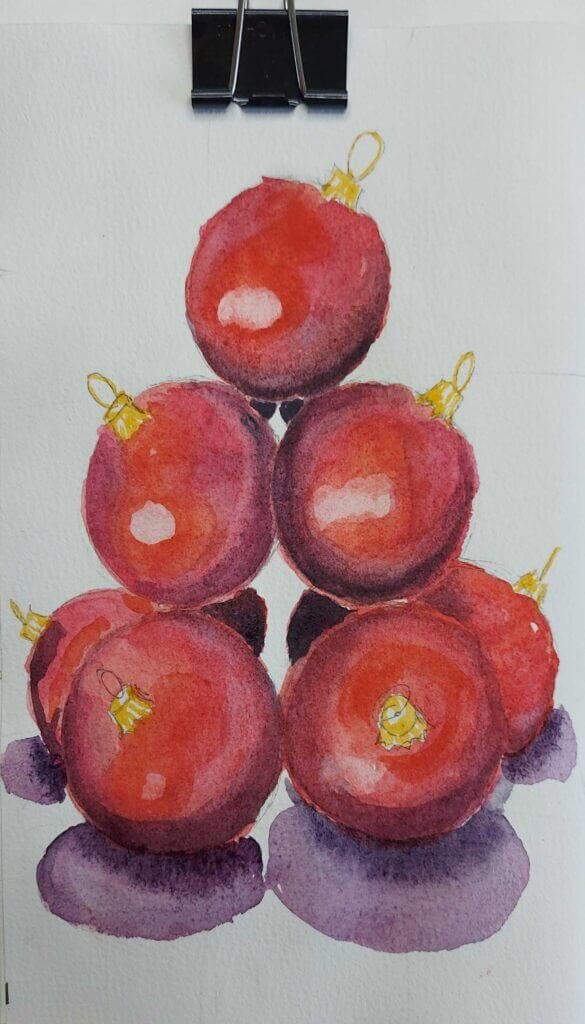
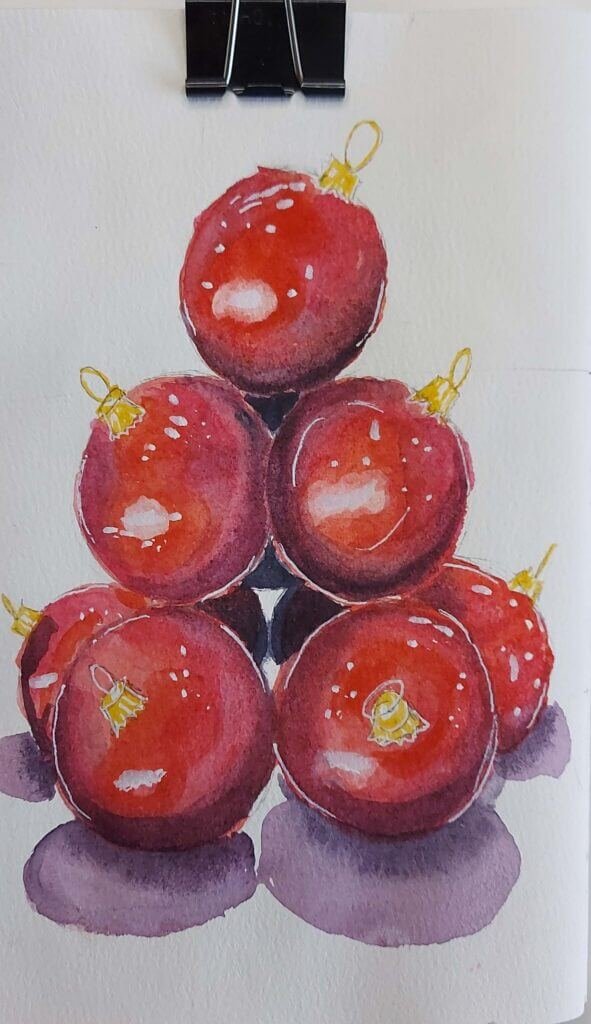
Step 6: Finishing with Highlights and Fallen Shadows
For fallen shadows under the balls I use the same mixture as in step 3. Make the darker tone closer to the balls and then add a little bit of water and spread the shadow. For highlights I use a posca marker and a sakura gelly roll pen.
Hope this tutorial was useful and you had fun. Wish you happy holidays full of joy and drawings!
If you want to draw quickly encourage you to read my post about how to make quick sketches.